The 2 Most Commonly Used Pipe Lining Technologies Used As Of 2020
6 Stages of Pipe Lining Installation:
These 6 steps explain the older CIPP pipe lining process for cast iron drains under your home.
1. Clean The Pipe
First the old scale and rust has to be removed using a high-pressure water “jetter” from the “cleanout” access point outside the house, and running a water hose into the pipe that washes out all the debris. Sometimes if the scale is too hard, patented tools are used to remove it. At the end of the cleaning process, all roots and rust and scale have been removed, and cracks and holes are clearly visible.
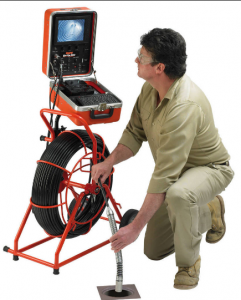
2. Video Inspect The Pipe For Measurements
Next a video camera is run through the pipe to see how long the pipe lining has to be and where exactly the incoming pipe connections are. Wherever the pipe lining will cover the incoming pipe connections, a small piece of pipe lining is cut out prior to installation so that connections are not obscured.
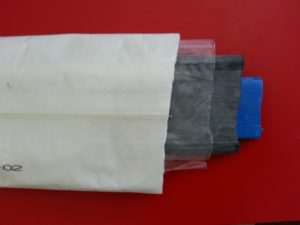
3. Prepare The Liner
Next the patented pipe lining material is cut to the exact correct length, and a precise amount of self-hardening resin is placed inside the liner. A heavy roller is used to push the resin throughout the inside of the fabric lining material until it is completely saturated.
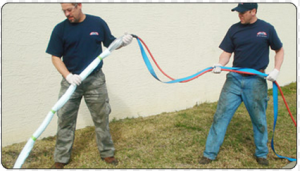
4. Pull Or Shoot The Liner Into The pipe
There are two ways to get the liner into the pipe. The first way is to pull it into the pipe using a cable. The liner is pulled into a precise location so that the pre-cut connections line up where the incoming pipes are. The second way the liner may be installed is to “invert” or “shoot” it into the pipe. In essence, the liner is rolled into a tank that has a gun barrel sticking out of it. When the tank is later pressurized with air, the front end of the liner that is sticking out of the barrel and that has been wrapped around the outside of the barrel, shoots the liner into the pipe as the liner turns inside out. Here is a video showing our proprietary air-inversion pipe lining.
5. Inflate The Internal Balloon (Calibration Tube)
Once the liner is inside the pipe, the balloon is inflated to approximately 18psi, for 2-3 hours while the resin heats up to 180 degrees Fahrenheit and hardens the liner. When the balloon is pulled out, the lining is ready for use immediately.
6. Make Final Video Of Restored Pipe
The liner comes with a 50-year materials and labor warranty which is transferable, and so a video is made of the lined pipe for future property owners.